0 准备工作
centos 7.6虚拟机centos7 1810 iso文件win7 iso文件wimtools工具 # 可选wimboot文件,用于引导winpe的WIM文件
1 安装一个ipxe服务器
根据使用ipxe安装centos7上面描述的方法首先部署一个ipxe服务器。
安装需要的包:
[root@localhost ~]# yum -y install dnsmasq httpd ipxe-bootimgs
准备ipxe配置文件
mkdir /tftpboot
# 适用于 BIOS 硬件
cp /usr/share/ipxe/undionly.kpxe /tftpboot/
# 适用于 EFI 硬件
cp /usr/share/ipxe/ipxe.efi /tftpboot/
vi /tftpboot/menu/boot.ipxe
cat /tftpboot/menu/boot.ipxe
#!ipxe
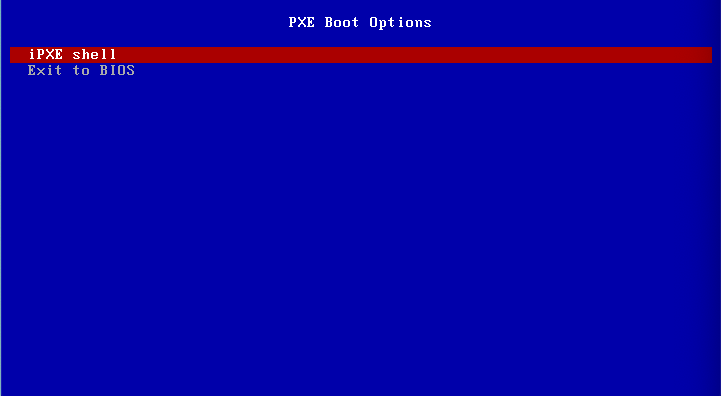
menu PXE Boot Options
item shell iPXE shell
item exit  Exit to BIOS
# 默认选择 exit, 延迟10s
choose --default exit --timeout 10000 option && goto ${option}
# 可以切换到shell
:shell
shell
# 退出
:exit
exit
准备dnsmasq配置文件
[root@localhost ~]# cat /etc/dnsmasq.conf|grep -v "^#"|grep -v "^$"
# dns 禁用端口
port=0
listen-address=10.10.2.100
interface=ens34
# tftp配置
enable-tftp
tftp-root=/tftpboot
# dhcp配置
dhcp-range=10.10.2.200,10.10.2.250,255.255.255.0,24h
dhcp-option=3,10.10.2.100  # 可选
dhcp-option=15,f.net   # 可选
dhcp-option=28,10.10.2.255  # 可选
dhcp-match=set:ipxe,175
dhcp-vendorclass=BIOS,PXEClient:Arch:00000
dhcp-boot=tag:!ipxe,tag:BIOS,undionly.kpxe   # for BIOS
dhcp-boot=tag:!ipxe,tag:!BIOS,ipxe.efi  # for UEFI
dhcp-boot=tag:ipxe,menu/boot.ipxe
启动测试一下

2 网络安装windows7
[可选]安装wimtools工具,使用该工具可以在Linux环境下创建windows PE
# 这部分可选,直接使用win7 iso中的boot.wim。也可以使用mkwinpeimg工具自己创建boot.wim,但是似乎没有什么区别;
[root@localhost ~]# wget http://li.nux.ro/download/nux/dextop/el7/x86_64//wimtools-1.9.2-2.el7.nux.x86_64.rpm
[root@localhost ~]# wget http://li.nux.ro/download/nux/dextop/el7/x86_64/libwim15-1.9.2-2.el7.nux.x86_64.rpm
[root@localhost ~]# yum localinstall wimtools-1.9.2-2.el7.nux.x86_64.rpm libwim15-1.9.2-2.el7.nux.x86_64.rpm
[root@localhost ~]# which mkwinpeimg
/usr/bin/mkwinpeimg
挂载win7 ISO文件
[root@localhost ~]# mkdir -p /var/www/html/win7/iso
[root@localhost ~]# mount /dev/sr0 /var/www/html/win7/iso
由于winpe只能使用samba协议,因此使用创建一个共享
[root@localhost html]# yum -y install samba
# 修改配置文件,新增一个模块[share]
[root@localhost html]# vim /etc/samba/smb.conf
[root@localhost html]# cat /etc/samba/smb.conf

# 注释加在行尾会报错
[global]
        log file = /var/log/samba/log.%m
        max log size = 5000
        security = user
        guest account = nobody    # 访客
        map to guest = Bad User   # 访客
        load printers = yes
        cups options = raw
[share]
        comment = share
        path = /var/www/html
        directory mask  = 0755
        guest ok        = yes     # 访客
[root@localhost html]# systemctl enable smb
Created symlink from /etc/systemd/system/multi-user.target.wants/smb.service to /usr/lib/systemd/system/smb.service.
[root@localhost html]# systemctl start smb
修改boot.ipxe配置文件
# 下载wimboot工具,
wget http://git.ipxe.org/releases/wimboot/wimboot-latest.zip
unzip wimboot-latest.zip
# 将wimboot文件解压到http根目录下
[root@localhost tftpboot]# ls -l /var/www/html/win7/wimboot
-rwxr-xr-x 1 root root 51392 Aug 17 14:29 /var/www/html/win7/wimboot
# 修改 boot.ipxe 文件
[root@localhost tftpboot]# vim /tftpboot/menu/boot.ipxe
[root@localhost tftpboot]# cat /tftpboot/menu/boot.ipxe
#!ipxe
:start
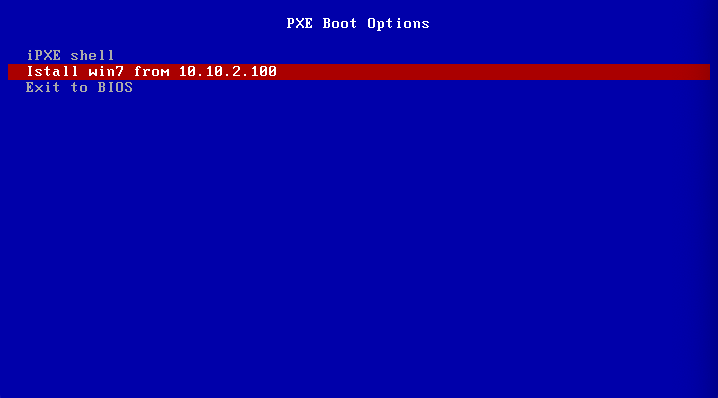
menu PXE Boot Options
item shell iPXE shell
item win7-net  Istall win7 from 10.10.2.100
item exit  Exit to BIOS

choose --default win7-net  --timeout 10000 option && goto ${option}

:shell
shell

:win7-net
cpuid --ext 29
set win7_root http://10.10.2.100/win7
kernel ${win7_root}/wimboot
initrd ${win7_root}/install.bat                 install.bat
initrd ${win7_root}/winpeshl.ini                winpeshl.ini
initrd ${win7_root}/iso/boot/bcd                BCD
initrd ${win7_root}/iso/boot/boot.sdi           boot.sdi
#initrd ${win7_root}/peiso/sources/boot.wim      boot.wim
initrd ${win7_root}/iso/sources/boot.wim        boot.wim
boot

:exit
exit
创建和修改winpeshl.ini和install.bat文件。通过编写install.bat可以在进入PE后执行指定的命令,这里就是安装操作系统。
[root@localhost win7]# pwd
/var/www/html/win7
[root@localhost win7]# cat install.bat
wpeinit.exe
net use \\10.10.2.100\share
\\10.10.2.100\share\win7\iso\setup.exe
[root@localhost win7]# cat winpeshl.ini
[LaunchApps]
"install.bat"
测试一下效果

3 其他
- 有时候进入winpe的时候会halt在wpeinit状态下,很奇怪…
- 未考虑增加响应文件,进行全自动化安装的情况。